Install flyctl
Fly.io relies on a command line utility to launch and deploy applications. You need to download and install it. You can find installation instructions here: https://fly.io/docs/hands-on/install-flyctl/
After installing you might need to close your terminal and reopen it to be able to access flyctl
Signing up
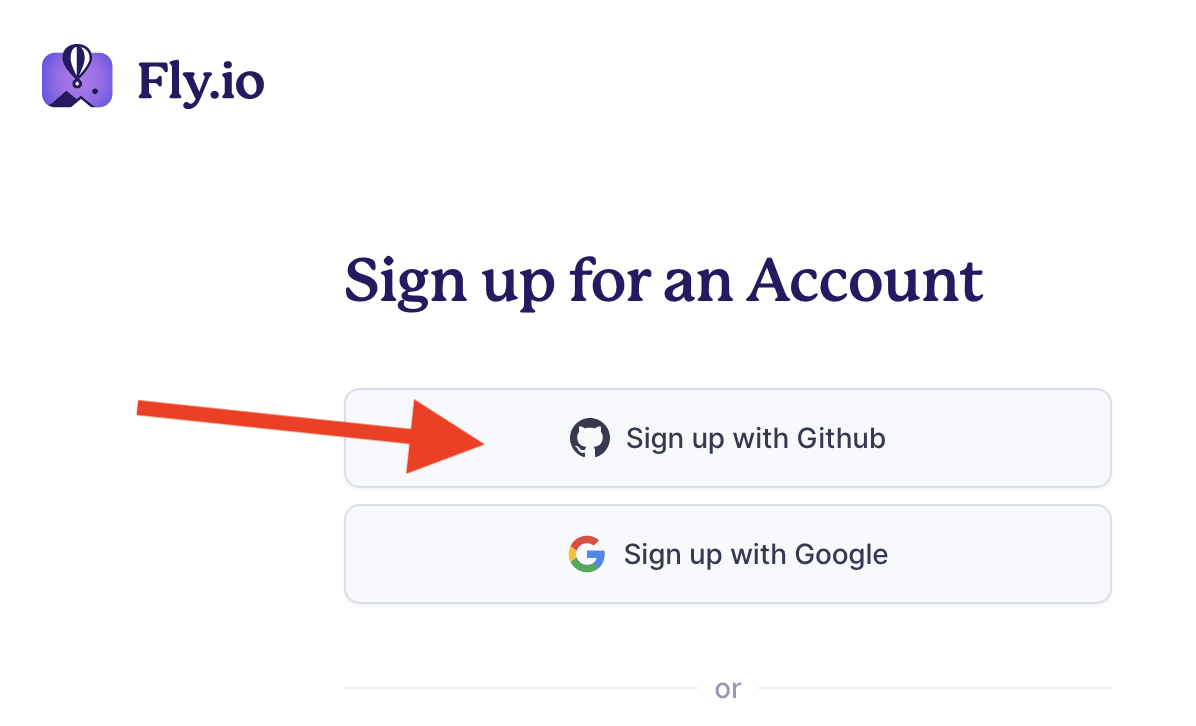
To sign up for a fly.io account go to their sign up page at https://fly.io/app/sign-up Make sure you register using the “Sign up using GitHub”, as otherwise you won’t get added to the Trial package!
Once signed up you need to log in locally. Type in the following on your terminal then follow the instructions:
flyctl auth loginApplication setup
Once signed up you can now launch your application. Go to the root of your project and type
flyctl launchOnce you enter this command it will provide you with a prompt like the following:
We're about to launch your NodeJS app on Fly.io. Here's what you're getting:

Organization: test@codeyourfuture.io        (fly launch defaults to the personal org)
Name:         full-stack-project-assessment (derived from your directory name)
Region:       Amsterdam, Netherlands        (this is the fastest region for you)
App Machines: shared-cpu-1x, 1GB RAM        (most apps need about 1GB of RAM)
Postgres:     <none>                        (not requested)
Redis:        <none>                        (not requested)

? Do you want to tweak these settings before proceeding? (y/N)
Make sure you enter Y on the prompt as the default settings are not going to use the free tier!
Once you enter Y and press enter you will be redirected to a website where you need to fill in the details as follows:
- Name: Use
YOURNAME-PROJECTNAME, examplejohn-smith-videorec - Region: Pick
lhr - London. - VM size: Pick
shared-cpu-1x. Anything else is not included in the free tier! - VM memory: Pick
256Mb. Anything else is not included in the free tier! - Database:
Fly Postgres - DB Name:
YOURNAME-PROJECTNAME-db, example:john-smith-videorec-db - Configuration:
Development - Single Node. Anything else here is not included in the free tier! - Redis:
None
Once you fill in the details click “Confirm Settings”
This will set up your database and a machine for running your backend. If everything is successful you should get something like:
Now: run 'flyctl deploy' to deploy your Node app.Once everything is in order you can see that new files have been added by fly launch to your repository. These include a Dockerfile and a fly settings file called fly.toml. Make sure you commit both into your git repository, they will be needed during further deployments!
Application deployment
Finally you are now ready for deployment:
flyctl deployThis command will send your current repository to fly, build a docker image of your code then deploy that image to the Fly.io infrastructure.
Note: if you are on the Trial Tier the deployer will return an error message saying it could only deploy your app to one machine instead of two because of the Trial Tier limitations:
Creating a second machine to increase service availability

Error: error creating a new machine: failed to launch VM: To create more than 1 machine per app please add a payment method.
This is okay, as one machine is enough for our deployment. Actually if you are not on the Trial Tier, then the deployer will create two machines. If you don’t wish to pay for both then you can decrease them to a single one by using the following command:
flyctl scale count 1If everything else goes well (as mentioned the error message above can be ignored) your application will be available on
https://YOURNAME-PROJECTNAME.fly.devMake sure to check that it works as expected!
Automated Deployments
Note that fly.io doesn’t have access to your GitHub account so it will not deploy your application whenever it changes. Either you need to run fly deploy from your computer every time you want to push a change, or you need to set up GitHub to do this for you.
In order to do this there are two steps: You need to give GitHub access to your fly.io account, and then also need to set up a workflow that runs the deploy command every time you push changes to the main branch.
For the first one you need to run the following command:
flyctl tokens create deploy -x 999999hThis will create a token that can be used by flyctl to run deployments. Make sure you save the result as you will need it later. It looks like a very long string starting with something like FlyV1 fm2_lJPECAAAAAAAA....
Next go to your GitHub repository on GitHub, and click Settings. On the left-hand side scroll down to “Secrets and variables” and select “Actions”. One the page that shows up scroll down to “Repository secrets”, and click “New repository secret”
Set the Name to FLY_API_TOKEN and the value to the full results of the previous call.
Now you have given GitHub access to your fly.io account. You also need to let GitHub know that you want to run a deployment every time your main branch changes. First create a file called .github/workflows/fly-deploy.yml, with the following content:
name: Fly Deploy
on:
  push:
    branches:
      - main

jobs:
  fly-deploy:
    name: Deploy app
    runs-on: ubuntu-latest
    steps:
      - uses: actions/checkout@v3
      - uses: superfly/flyctl-actions/setup-flyctl@master
      - run: flyctl deploy --remote-only
        env:
          FLY_API_TOKEN: ${{ secrets.FLY_API_TOKEN }}
Once you commit this file and push it to your main branch, GitHub will automatically run flyctl deploy against whatever is in the main branch.